A Useless Picture Frame
27 Mar 2020 ∞
Many months ago my father gave me an old, dilapidated, film splicer. I had the intention of cleaning it up and displaying it somewhere? Maybe? I didn't really think it through, but I do love weird old things like that. The splicer was shuffled around a few times by me and my roommates, and eventually ended up sitting at the end of a hallway, mostly forgotten. Util two days ago.
Due to circumstances beyond my control I've found myself with some, ahem, extra free time, and while walking down the aforementioned hallway, saw the splicer, and knew exactly what to do with it.
The Hardware

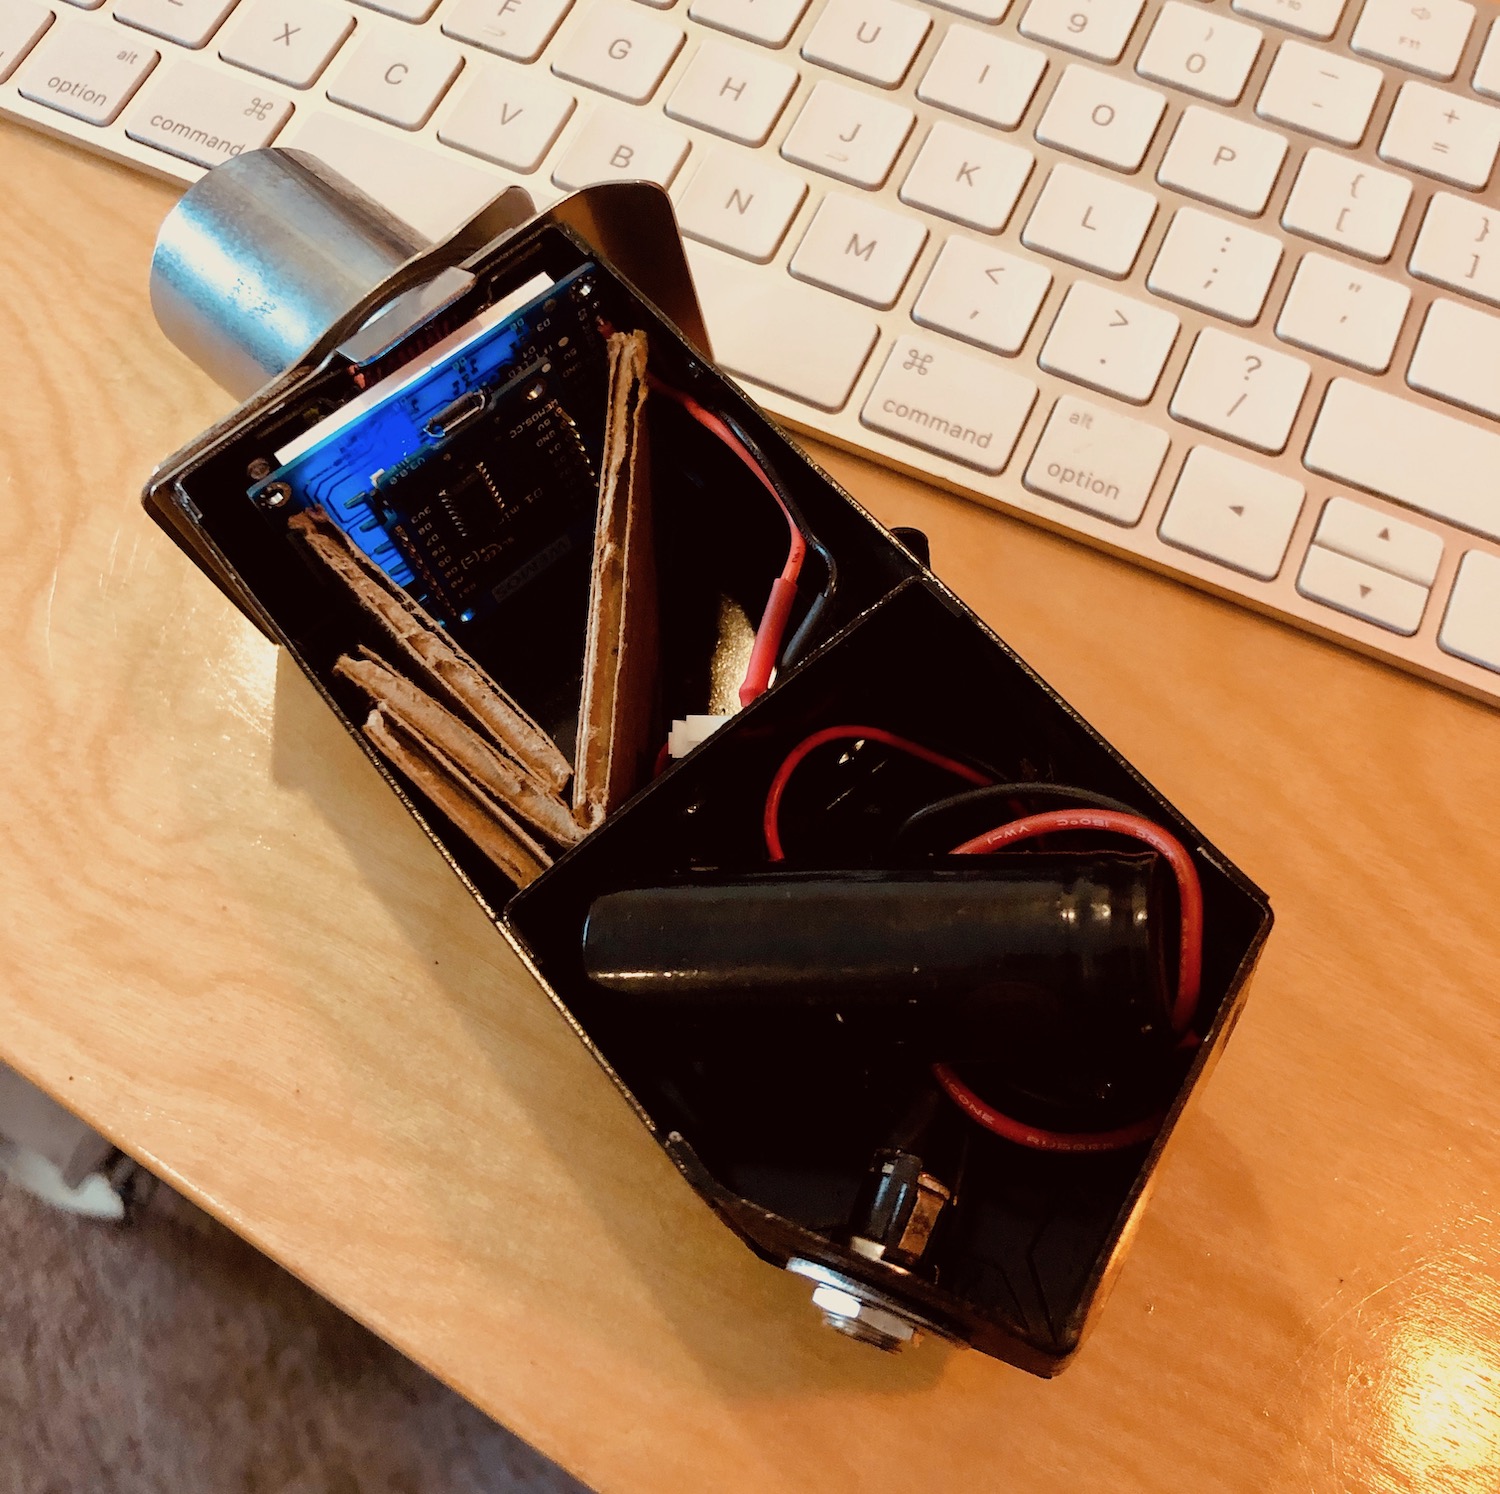
A 1.44" TFT display, Wemos D1 mini, and battery are housed in the film viewer, which originally held a lightbulb in the top portion. I wired the original power switch to continue to control power for the system, and the barrel jack to charge the battery is in place where the original power cable went.
The Software
While the hardware was relatively straight forward, the software was another matter. This was the first time I've dabbled with running a display on an ESP board before.
I was thrilled when I eventually managed to get the C++ working to display a line of text, and even more so when I had a tiny web server running that let me remotely push text to the screen. Displaying images, however, was another story. Eventually I decided to switch from Arduino to MicroPython, which is a much more familiar programming environment.
I eventually found a display library that worked and was off to the races. With a little bit of Python I wrote a very simple slideshow player that pulled images out of a folder read them out and displayed them. After a few iterations the player even saved its current position between boots.
The files load incredibly slowly, and are displayed line-by-line, which I think gives a rather charming transition between images.
Displaying Images

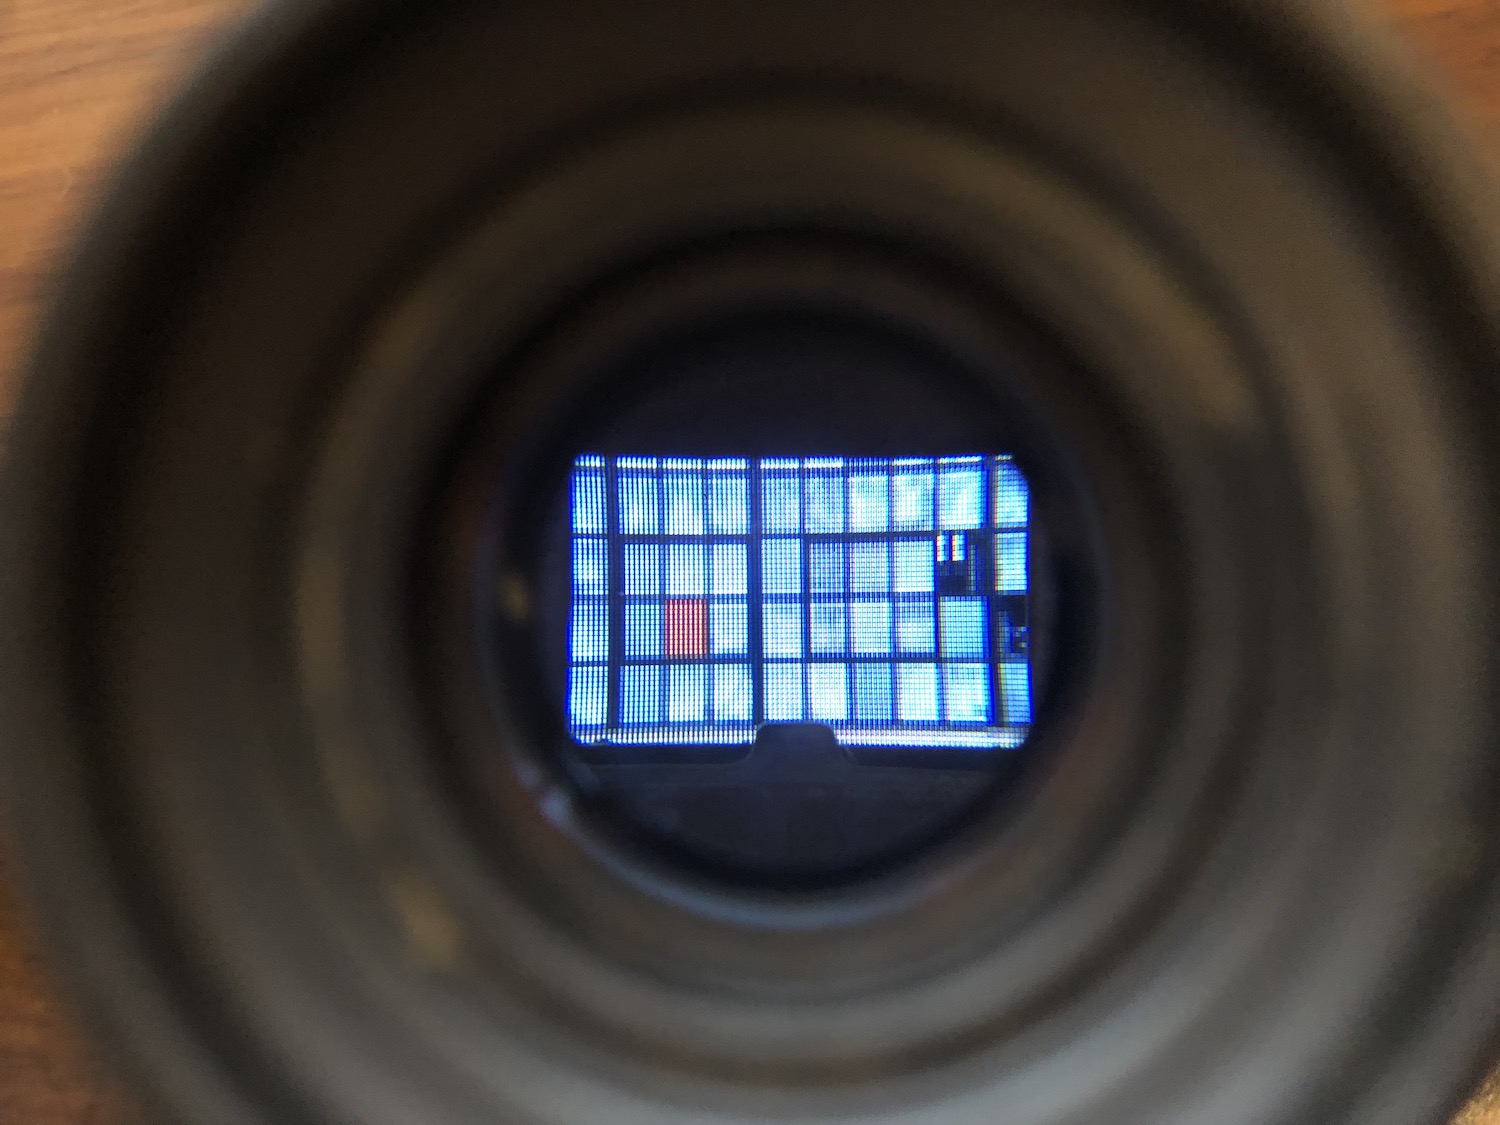
The display I used has an astonishing resolution of 128x128 pixels, and a mere ~100x65 pixels that are actually visible through the magnifier. This, in my opinion, results in some delightfully lo-fi images.
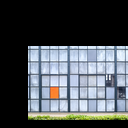
The images need to be resized, matted, and converted to bitmaps before being uploaded to the board.

In Conclusion
The entire project only took a couple days and was built using entirely with parts I had lying around. When I showed my roommates the end result they had trouble even telling what the images were, and I think that's part of the fun. This was a project just for me to experiment and try something new.
That being said, if anyone would like to build their own, all of the source code is published on GitHub.