Printing a Point & Shoot
17 Sep 2024 ∞
I've had a long term obsession with 3D printing a medium format camera. It was one of the reasons I bought my very first 3D printer, and has been a project I've returned to several times. The last time I took at stab at the project was with my wooden 6x9 field camera, which was eventually upgraded with a sliding back that I used to do some studio work.
All of the previous attempts were cumbersome. The first version required taking the entire digital back off in order to focus and compose. The sliding back version pushed the lens so far back into the camera it was difficult to use and lost most of its movements. I really wanted something simpler.
So I designed something simpler.
The Camera
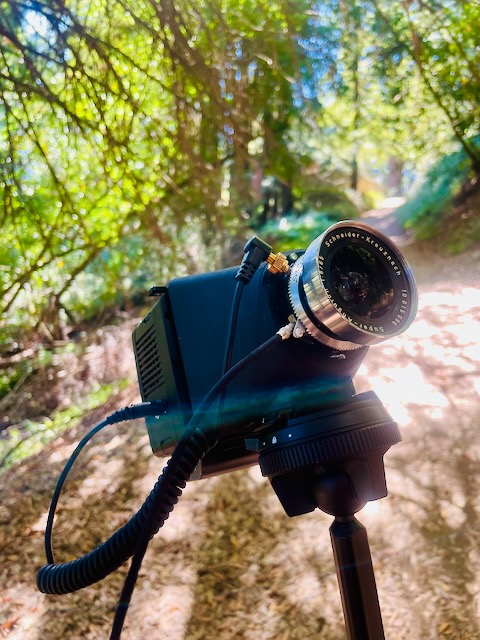
The simplest camera is just a box with an aperture and a sensing medium. In practice that means a pinhole camera, and those are cool, but I have a really nice 65mm Super-Angulon lens. I hastily put together an MVC1. On the front it has a hole for the Compur 00 shutter and on the back a spot to fit the Mamiya 645 adapter I've been using on all these projects.
The design is simple, not much more than a blend from a circle at the front to a square at the back. I added an Arca-Swiss tripod mount at the bottom for convenience. Most of the actual work was figuring out the best way to have be able to print the camera body in one piece, to minimize potential light leaks and just to be easier to print.
Of course there are a lot of careful measurements than go into photography and especially camera design. I ignored all of them. I had a 65mm lens, so why not make a rash assumption and make the camera 65mm long? I wasn't planning on using this in a studio, so fixed focus at infinity would be fine. The results are, surprisingly, not bad, if a tad soft2. Unfortunately I forgot to take into account the extra distance the adapter added; as a result I the focus was set to about four feet, which some back of the envelope math indicates is not infinity.
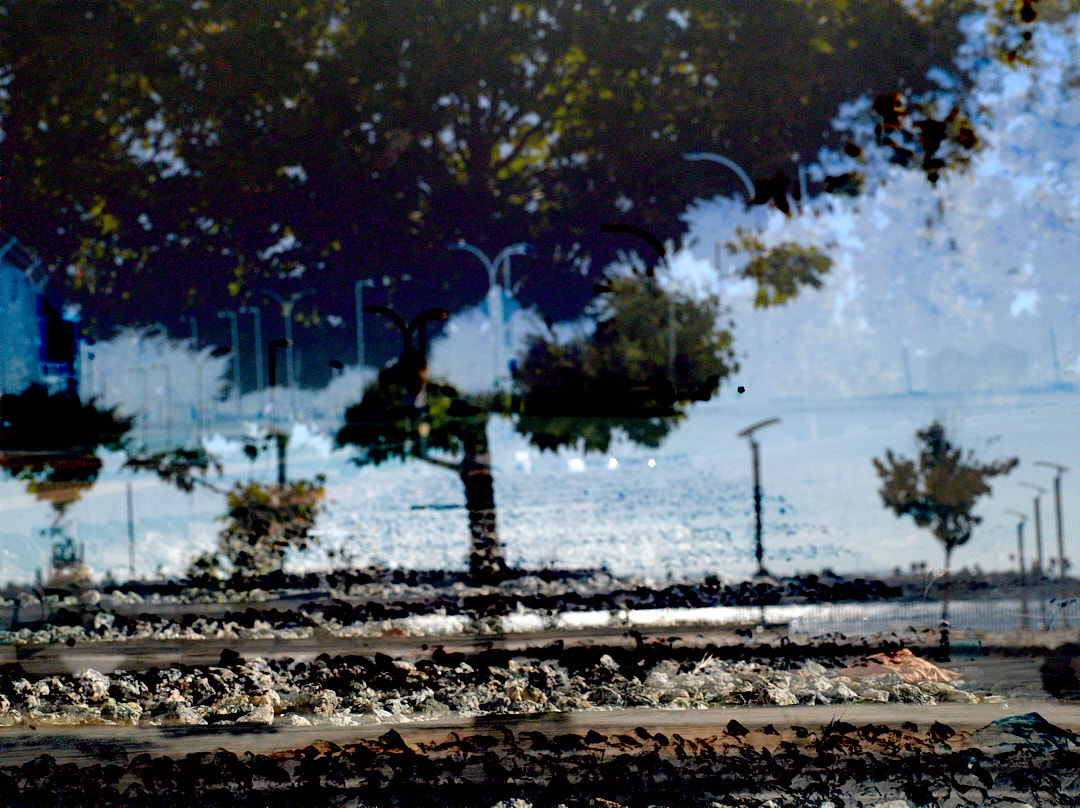
Not yet realizing the focus issue, I took the camera out on a couple of short trips, first around the block, and then for a hike in the woods. The initial walk proved difficult, with half the frames being completely black. There were a few redeeming photos, like this accidental quadruple exposure, which I would love to know how to do purposefully.
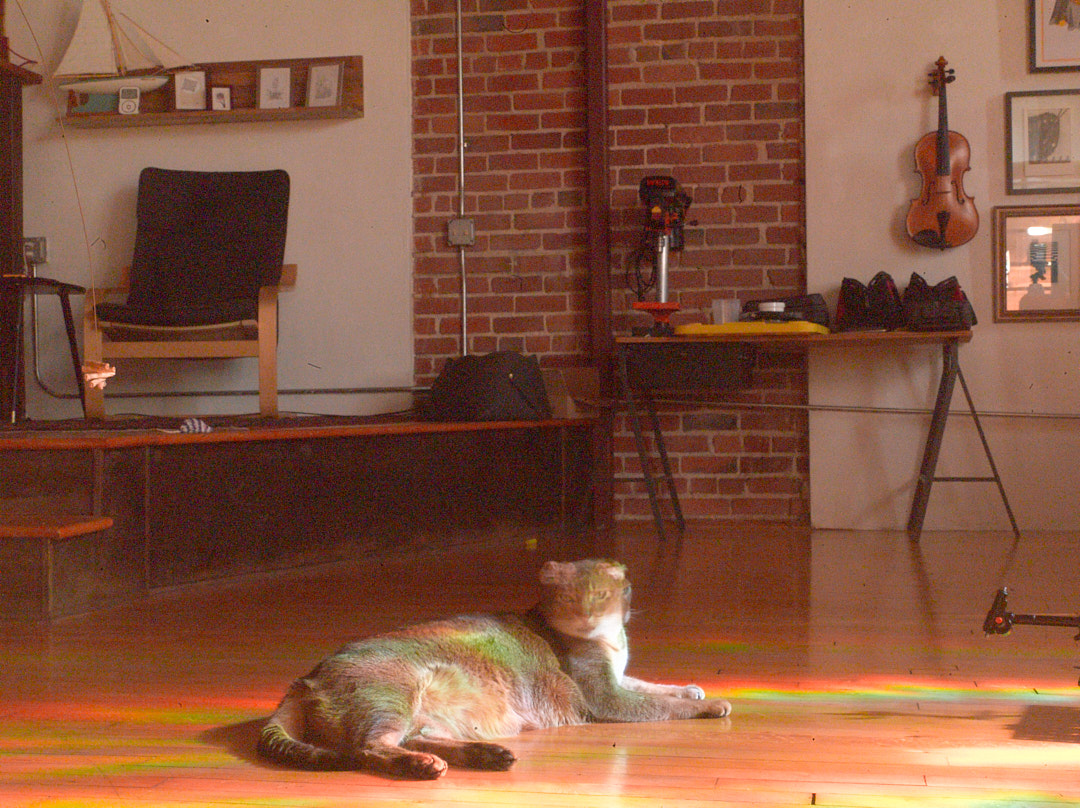
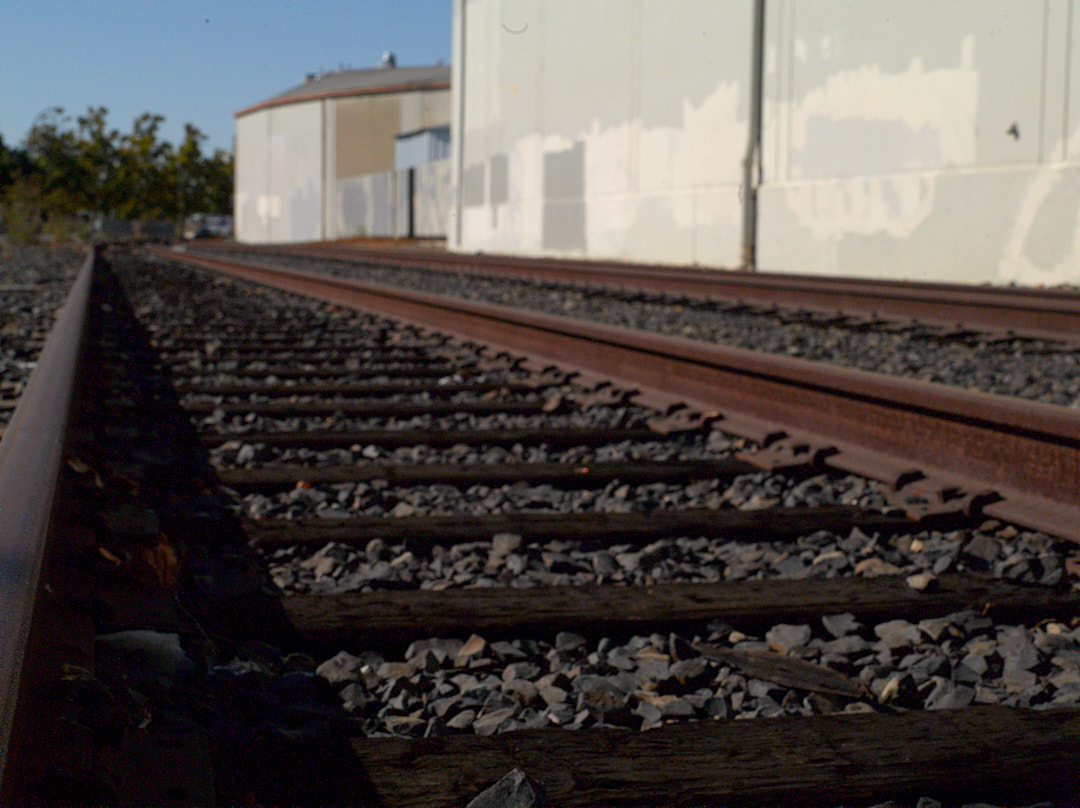
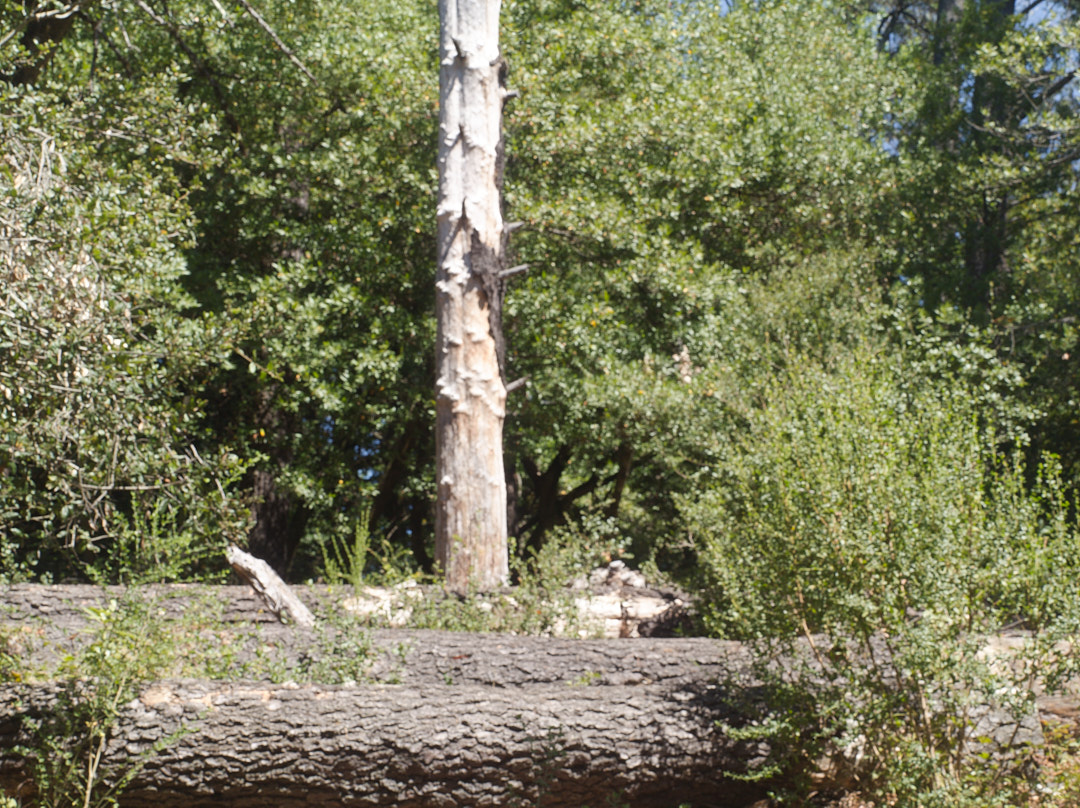
The second outing proved to be much better. I used a tripod this time, which helped (especially because the exposure times were quite long in the forrest). I think the camera being in direct sunlight may also contribute to miss-fires, though I can't be certain. There are several internal light baffles around the digital back, so there shouldn't be any extraneous light making its way in, but there were fewer problems in the dappled shade of the forrest than on the sidewalk by my building.
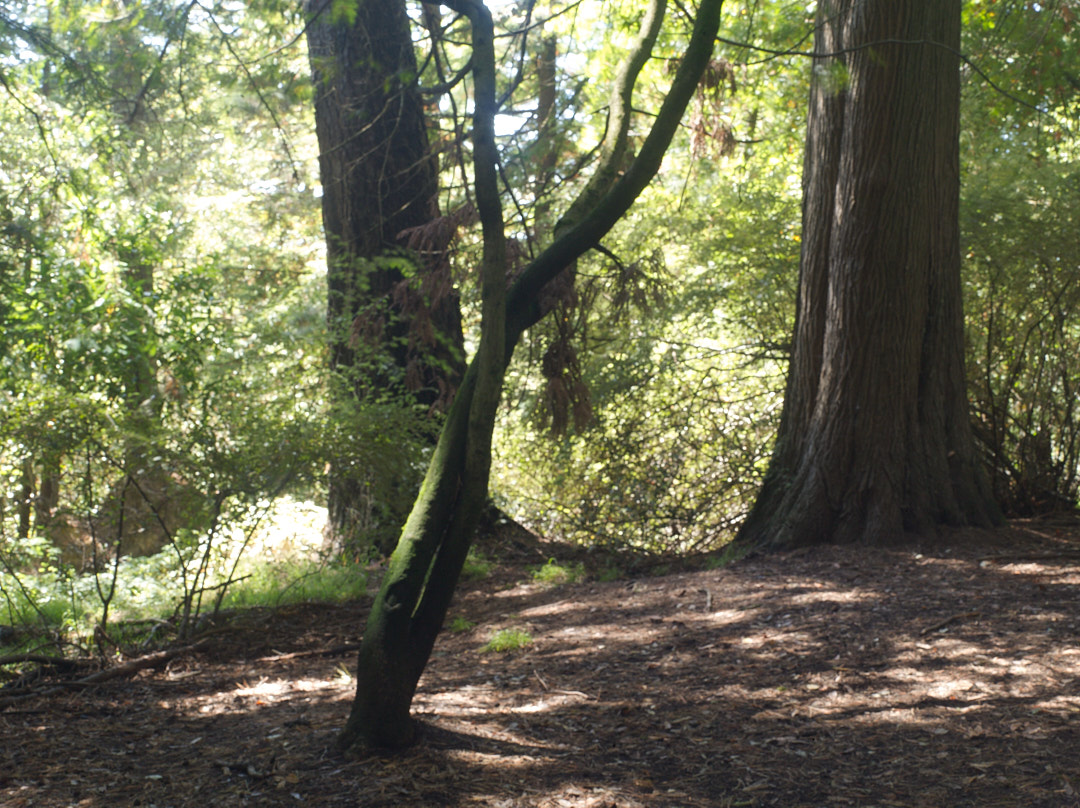
I'm really pleased with the photos overall. It's fun to take photos and not really know how they're going to turn out. The digital back doesn't have live view, so you're truly just pointing and shooting. You can review the photo after you've shot it, but the quality and brightness of the screen really only give you the impression of the photo. I'm working on a new iteration backed by some actual math for calculating the correct focus distance. I might add a cold shoe to the top for accessories, but maybe that's taking away from the original design goal.